Wednesday, April 23, 2014

Victorian Sewing Basket

Isn't this wicker chest something else?  I found it over in Roseburg several years ago. I was told at the time of purchase that the owners great grandmother used it to hold sewing items back in the early 20's and that it was old then.  I later found similar examples online and they were popular in the late 1800's and were used by Victorian ladies for sewing paraphernalia.

I use to keep it in the spare bedroom to hold the linens for that room and towels for guests.   

It's only about 3 feet high and 20" wide. Of course you have to allow space to open it up.


But when I opened my shop I needed pieces to fill it with, so I took it in for a display piece. I priced it, but, never really wanted to sell it. So awhile back I brought it back home (where it belongs!).

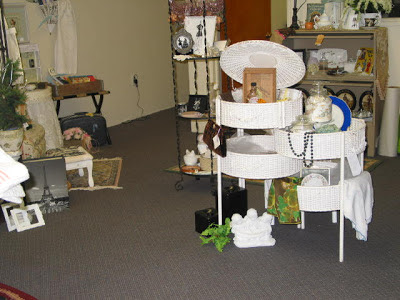
In my shop as a display piece. From this post.

I love the plaster swags and baskets on the front. And they are mostly intact, and in fact for it's age and being wicker it's in remarkable condition.

A wicker, long handled basket, filled with flowers is one of my favorite Victorian motifs!!!


The center of the dome style top has suffered the most loss of plaster adornment.

 There are four of these floral pieces on top.
 

When you open it up you can view all four compartments at once, they are not very deep and because of the way it folds together you can't stack items very high.


I've been reworking my bedroom so it's going in there and be the new home for my ribbons and laces.


Thank you for Popping in~~~
Happy Hunting and Gathering!!!

Wednesday, April 16, 2014

Planting In Wicker

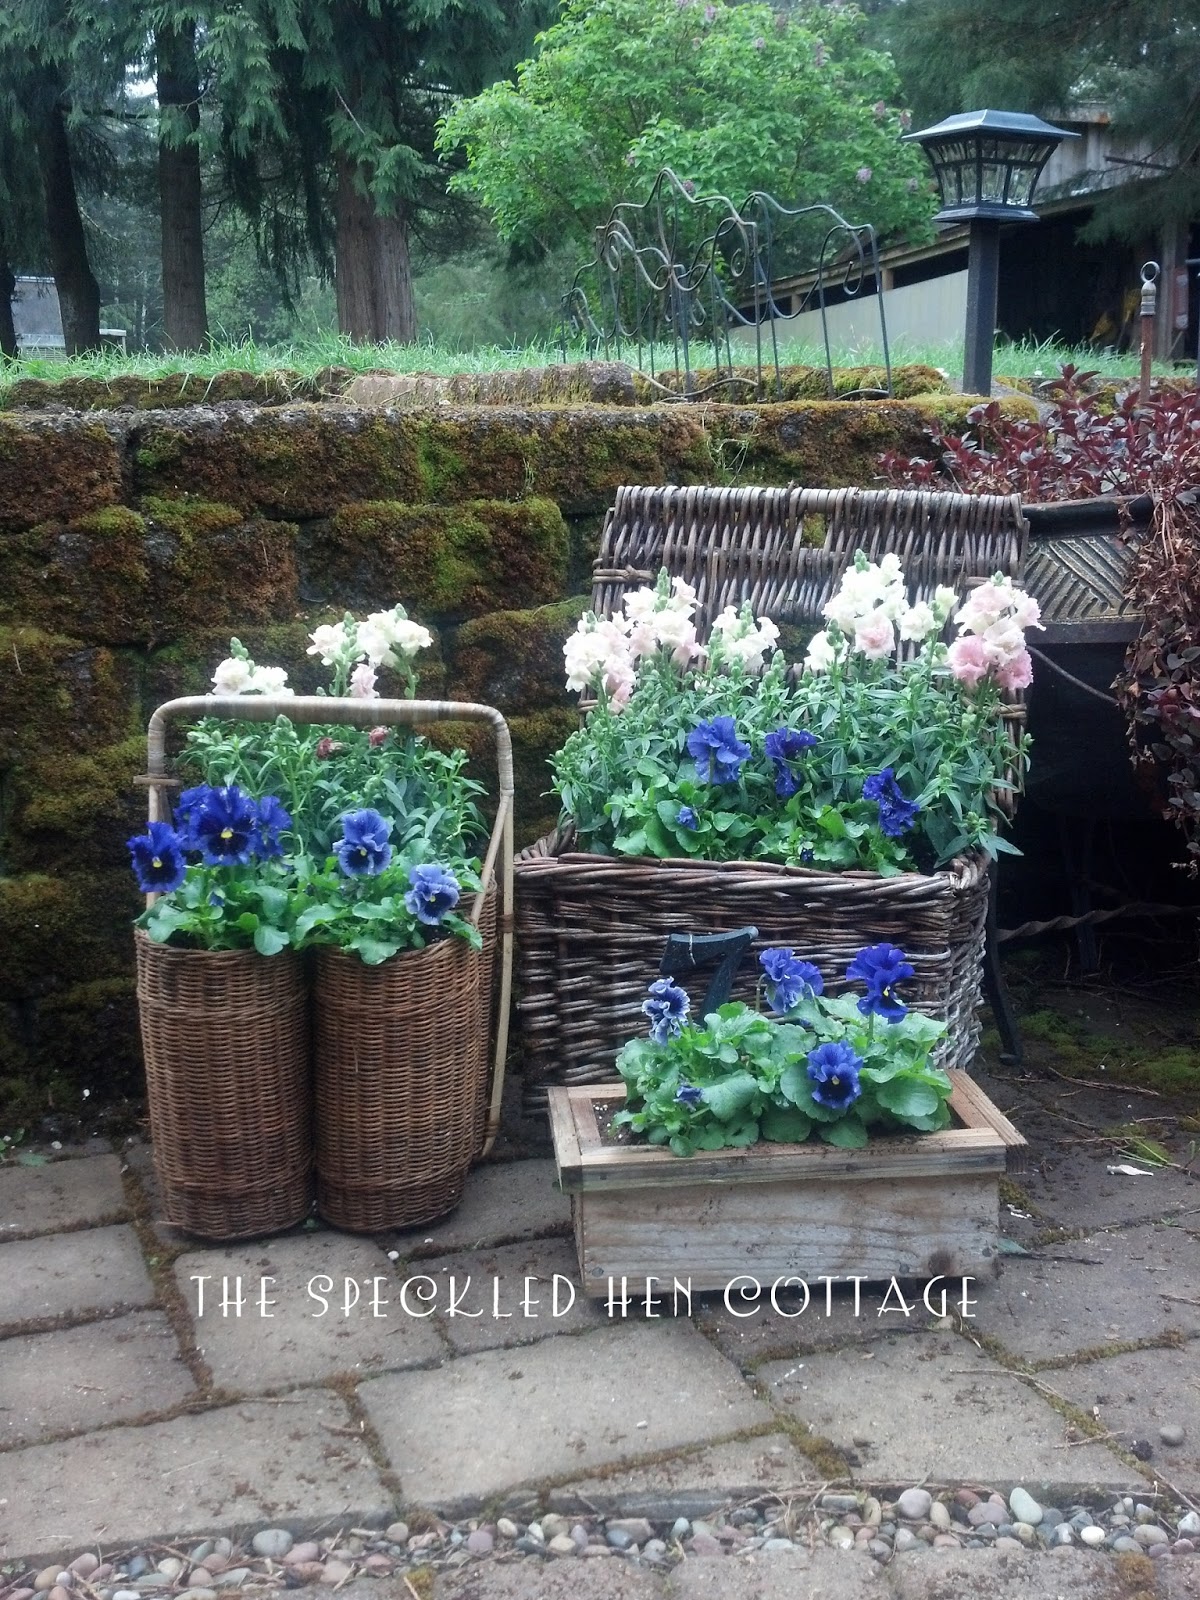
I stopped by my favorite nursery, Garden Elements, and found the prettiest pansies, Frizzle Sizzle in shades of purple. They're so ruffley.  


I had already purchased the pink snapdragons earlier at another market.


I got home and unloaded them unto the back patio to await planting.  My plan was to incorporate these into beds that needed filling in.  But they looked so pretty sitting in this little corner that I decided to search out some pots and keep them right here.


I went out to the shed to fetch the pots and there sitting on the shelf were several wicker baskets. I had forgotten all about them!!! It was about a year and a half ago that I picked these up with the intention to use as planters.  But this time last year (and well into July) I was sick with pneumonia. So I missed the whole spring gardening time.


The bigger basket with the lid I lined with some rubber material (pond liner) that I had. The wine carrier/picnic basket I just filled as is since the weave is very close on this one.   The bigger one might go two seasons  but the other will probably be just this year.  Which is pretty good since I only paid 25 cents for it and $3.99 for the other.


I added a plastic #7 house number with jute string to the larger basket. Just coincidence but it's holding seven plants!


I have two of these little cedar box planters, just using one here. I think it goes well with the wicker. The pansies look so bright and happy in it.


I had already planted the baskets when I brought home some Sweet Alyssum? (could be wrong here) for another area.  Well I thought they would look well with the others and since they tend to cascade over edges they would look very smart tucked into the wicker planters.


I'll be keeping an eye out for more wicker containers like these to plant next year. I'm so glad that spring has arrived here. The weather is exceptionally beautiful and unseasonably warm...just perfect for gardening...we usually stick to the saying "April Showers Bring May Flowers".

Thanks for Popping in~~~
Happy Hunting and Gathering!!!


Wednesday, April 2, 2014

French Themed Napkins

Awhile back I did this post Pink Thrifting and told you that I would be doing a stamping project on those pretty little pink cocktail napkins .

Ta da!!!  I got them done and I think they turned out pretty cute!!!

 You can't get much more French than the bee, which is one of the emblems of Napoleon's court.

The Bee
Symbol of immortality and resurrection, the bee was chosen so as to link the new dynasty to the very origins of France. Golden bees (in fact, cicadas) were discovered in 1653 in Tournai in the tomb of Childeric I, founder in 457 of the Merovingian dynasty and father of Clovis. They were considered as the oldest emblem of the sovereigns of France.

http://www.napoleon.org:81/en/essential_napoleon/symbols/index.asp


I love, love, love this stamp set by Darcie's. This company doesn't even know I exist. Last year when I was making my little heart pillows out of eyelet and muslin I used this set...it is just so sweet!  I use the "You and Me...meant to Bee" for little tags to price things for the shop.


 I absolutely find the lined/grid acrylic stamp block essential for optimum placement. I can line up the stamp on the block and I can see through to line up placement on fabric or paper.


I have two of this kind one in black and one in sepia.  It limits my color choices but it is very permanent and fades off only minimally.  I finish each stamping by using my iron to heat set.

A jam spreader and 5 o'clock spoon~~~

A sweet Violet's demitasse cup and saucer~~~

Silver plate pattern is Queen Bess, Tudor Plate, by Oneida~~~

The white under-plate is French Rose by Tabletops Unlimited. I only have a couple of pieces...always looking for more~~~
Thanks for Popping in~~~
Happy Hunting and Gathering!!! 

Beverly's PINK SATURDAY
I'm partying over at PINK SATURDAY


Tuesday, April 1, 2014

Easter Peep Keepers

Okay...first off this is a picture tutorial and I will try to explain how I did it.


First you need an old canning jar with a lid and metal bail. This is what I liked visually when done and I was more comfortable working with heavier glass.


Second you need chicken wire. I don't know what gauge I used since it was a piece given to me and was unlabeled (the holes measure 1" so I think that is the gauge).  But it should probably be no more than one inch holes. Smaller gauge might also look good.


Wire cutters, small jewelery pliers, regular needle nose pliers and gloves.


Please read the next few paragraphs closely to get a sense of how it goes together before you start~~~

For this to work properly you will need the top heavy edge of the wire for the top of the jar. As I said mine was a piece so it only had one good edge. You want a nice smooth finish.

The two most important points to remember now, is to dry fit around the middle (largest part) and cut one to two spaces over.  You need to also cut one to two spaces longer than needed.  Be careful when cutting it is really easy to stray over into another row. Don't short yourself...go long!  We'll fix that gaping top in a moment!!!

I don't know how to exactly explain how I weaved it together. When I was a kid I use to watch my father patch wire fencing and was fascinated how he put it back together. And that pretty much is how I know...it's a good memory.

Small mouth pint with overlay and twist and tail weaving at seam.

Large mouth pint twist to twist weaving at seam.

I tried to match up the spaces so they were in line. Then I clipped one side of the tails off the twist and used my small jewelery pliers to manipulate the wire under and around trying to tuck all ends under. When I did the quart jar (no pic) it was a combination of twists and tails that I weaved together. The large mouth pint was twist to twist weaving and the small mouth pint was overlayed and a combination.

 See the twisted section...that's the twist. Now, see the the pieces of wire sticking up in a "V"...that's the tails. Make your snips so you have tails.

Then I moved to the bottom and gently shaped the wire around the rolled edge of the jar. Don't pull or you will stretch out the wire. I just continued snipping, twisting and tucking, trying to stay in a straight row.  I gently tapped the bottom of the wire covered jar with my rubber handled pliers to get the little pokeys to lay flat. Could use a rubber mallet for this also.  Mine was in the garage...don't go out there after midnight~~~

 See how I used those "tails" to twist together to close the bottom? The middle is slightly concave and if you can  close in that area it will sit much nicer.
 
Weaving the top edge together takes a little more patience as you have a heavier double wire, the metal bail and the contours of the jar. Don't try to take up all the slack.

Now to take up that slack at the top.  I used my regular size needle nose pliers to grasp the wire and gently twist back on itself (you're sort of making an "S" shape).  You're going to do this twice and it doesn't have to be tight just snug. I chose spots that were not to conspicuous to the front of the jar.  Again, gently tap to lay flat. You can at this point move the wire casing around just a bit to align your seam down the back of the jar.


The best point I could give you is to dry fit and study how the wire lays, that is going to tell you how to weave it together. Pay attention to where your making your snips. Don't pull overmuch on the wire or you will lose the shape of it. Just go slow and thoughtful...it will come together. That is pretty much "how I did it".  I so hope this makes sense to all of you~~~


Now all you have to do is fill it with peeps!!!  

 
I was so dissapointed when I went to buy the marshmallow peeps all they had were marshmallow rabbits...so I got speckled malt eggs instead!!!


Thank you for Popping in~~~
Happy Hunting and Gathering!!!